What to Measure Before Ordering a Ready Made Staircase
A ready made staircase is not a stock item you pull off a shelf. It is a standard pattern built to your dimensions, fabricated in the workshop and delivered as finished components to be assembled on site. That distinction matters, because the quality of what arrives depends almost entirely on the measurements you send before anything is cut.
Most of the delays we see on staircase orders are not fabrication delays. They are a dimension that was taken from a drawing instead of the building, and discovered only when the flight is standing in the room.
Floor to floor height is the master dimension
Measure from the finished floor at the bottom to the finished floor at the top. Finished means after tiles, stone or wood go down, not the bare slab.
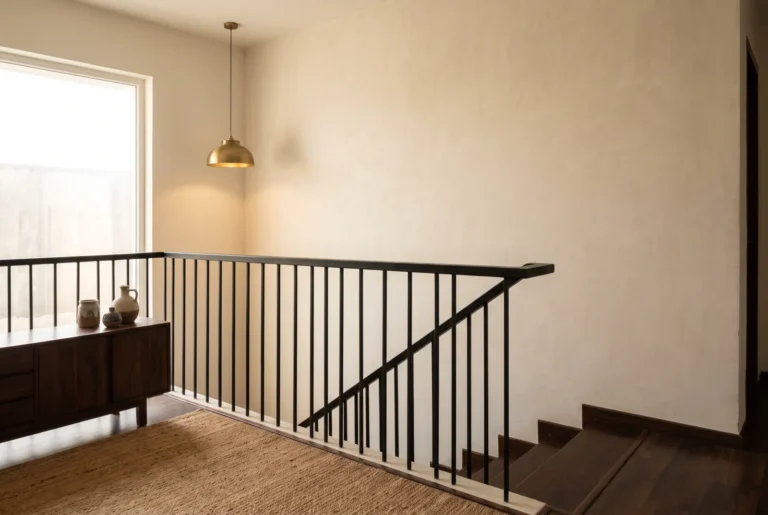
This single figure sets the number of risers and the height of each one. Every step in a flight has to be the same height, so if the real floor to floor height differs from the one on the drawing, the riser height changes for every step, not just the last one. A slab that is 40 mm off is enough to do it.
If the floor finish has not been laid yet, tell us the thickness you plan to use at both levels. We would rather work from a bare slab plus a stated finish than from a guess.
The opening in the upper floor
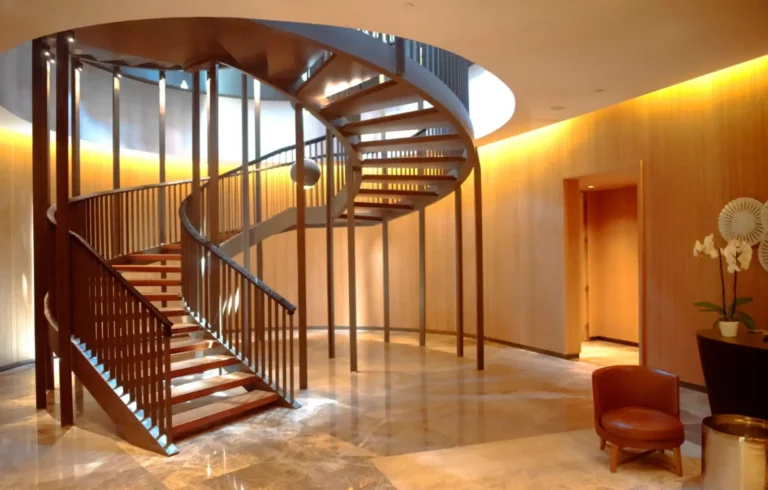
Measure the length and width of the hole the staircase comes up through, and note which side it is open on. For a spiral, the opening governs the diameter you can use. For a straight or L-shaped flight, it governs where the top of the flight can land.
Measure the structural opening, not the plastered or clad one, and say which it is. The two are rarely the same.
Headroom
Stand on each step position and measure straight up to whatever is above: the ceiling, the edge of the opening, a beam, a duct. Headroom problems almost always come from something crossing the stairwell rather than from the ceiling itself, and a beam that the drawing does not show is the most common culprit.
Where you enter and where you arrive
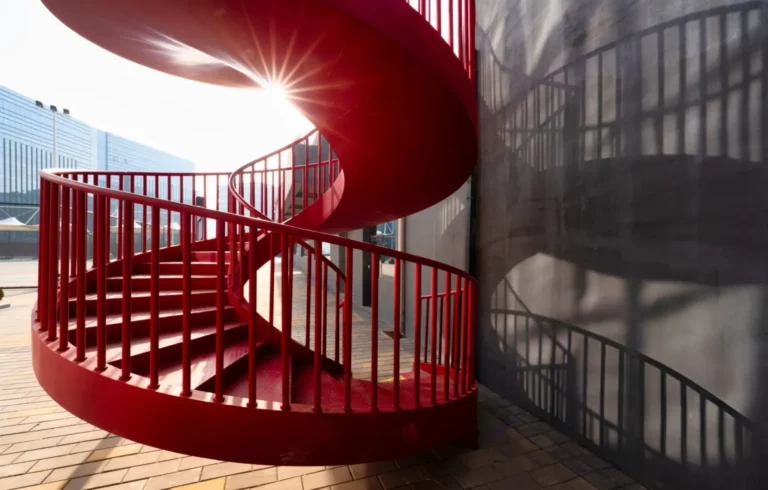
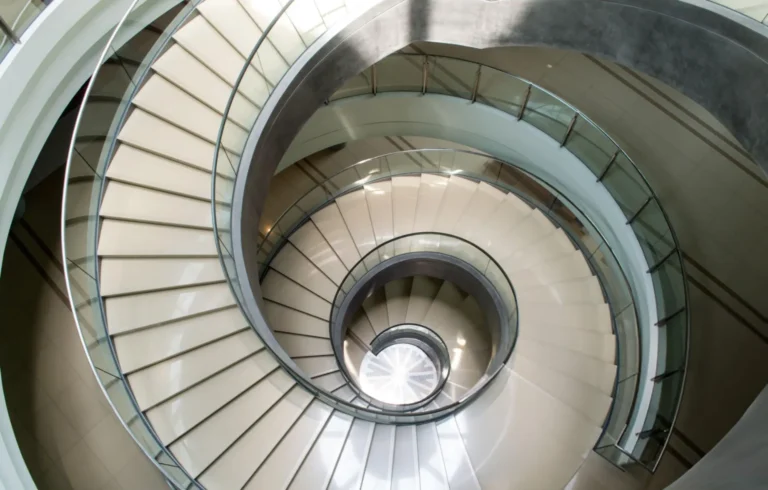
For a spiral, the direction of rotation and the position of the first and last step are a choice, not a default, and they decide which way you face when you step off at the top. For a straight flight, the handing decides which wall the flight runs against.
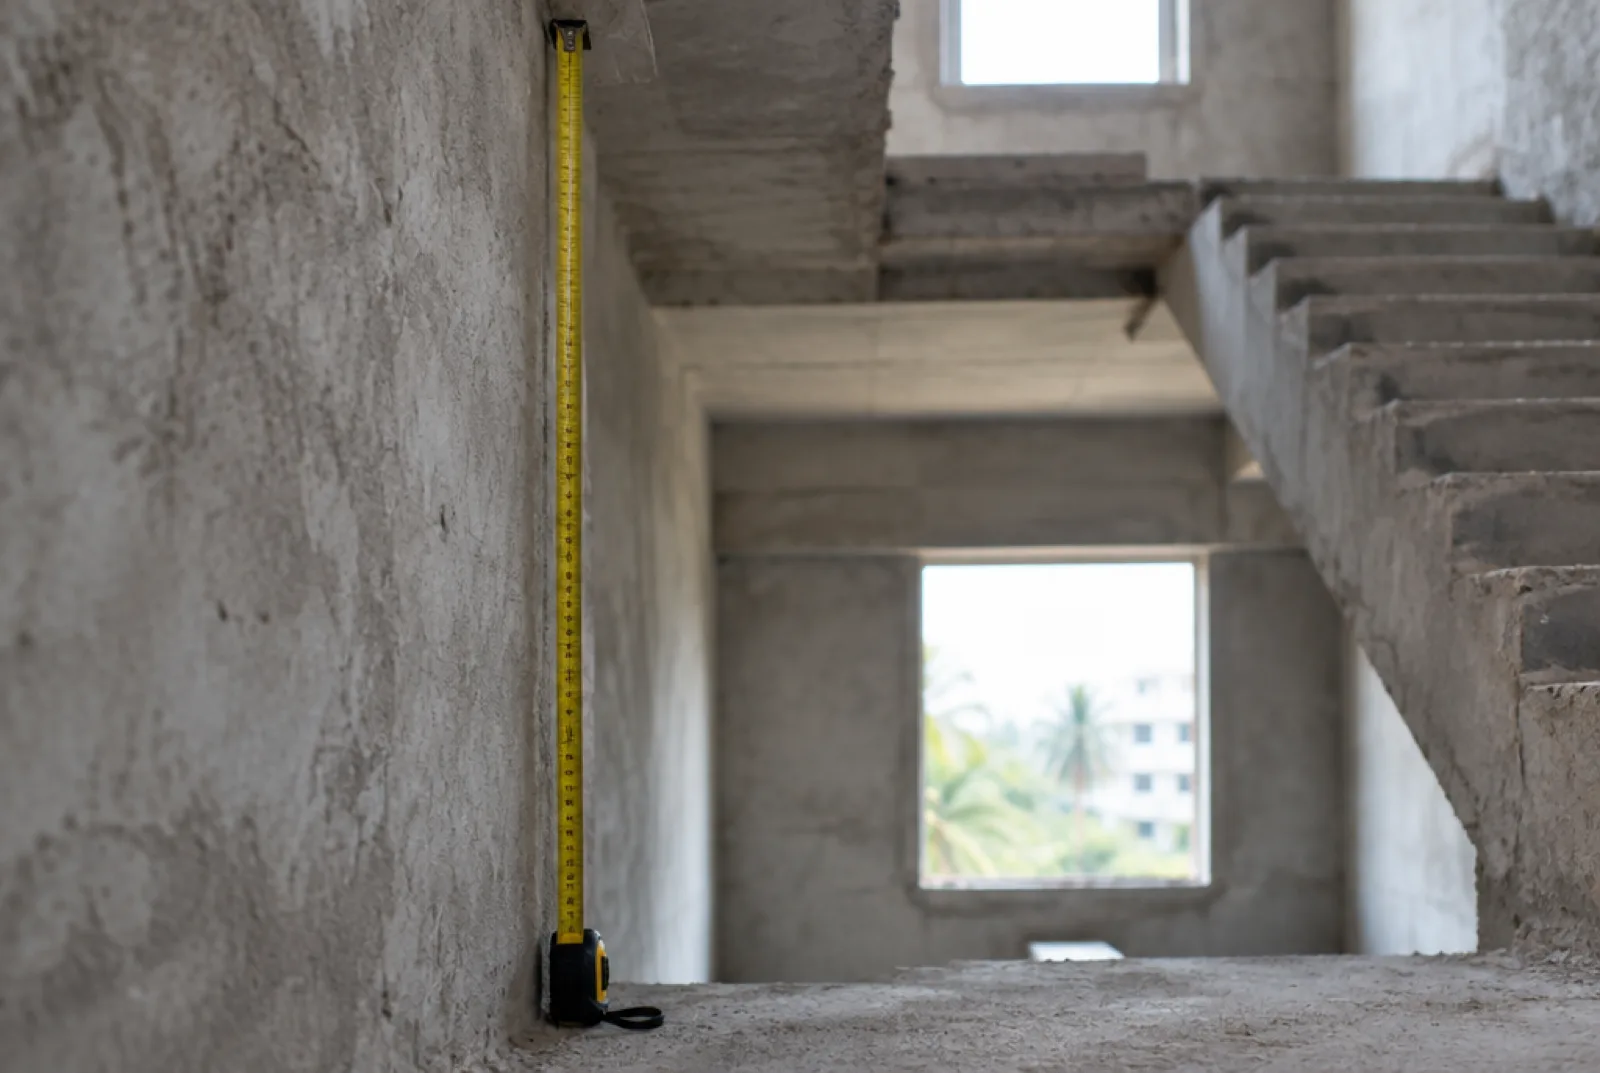
A photograph of the space from two or three angles, with a tape measure visible in the frame, resolves more of these questions than a page of figures.
The route the staircase takes to get in
This is the measurement people forget. Components arrive as a stringer or central column, treads and railing sections, and they have to reach the stairwell. Measure the narrowest point on the way in: the lift car, the doorway, the turn at the top of an existing flight, the gate at the compound wall.
Tell us the floor the staircase is going to and whether there is lift access. On a high floor with a small lift, that changes how we break the flight into sections before we build it, which is far easier than solving it on delivery day.
A short checklist
- Finished floor to finished floor height, and the floor finish thickness if it is not laid yet.
- Length and width of the opening above, and whether it is structural or finished.
- Headroom at each step position, including beams and ducts.
- Entry direction at the bottom and the side you want to arrive on at the top.
- The narrowest point on the delivery route, and the floor level.
- Photographs of the space from two or three angles.
Send those and we can quote properly. We survey the site once the quotation is agreed, and that visit confirms the dimensions rather than starting them, which is why the measurements you take at the beginning do so much work.
More on what we build and how it arrives is on our ready made staircases page, and on delivery across India. If you are still at the budgeting stage, what sets the price of a staircase explains which of these dimensions actually move the cost.